


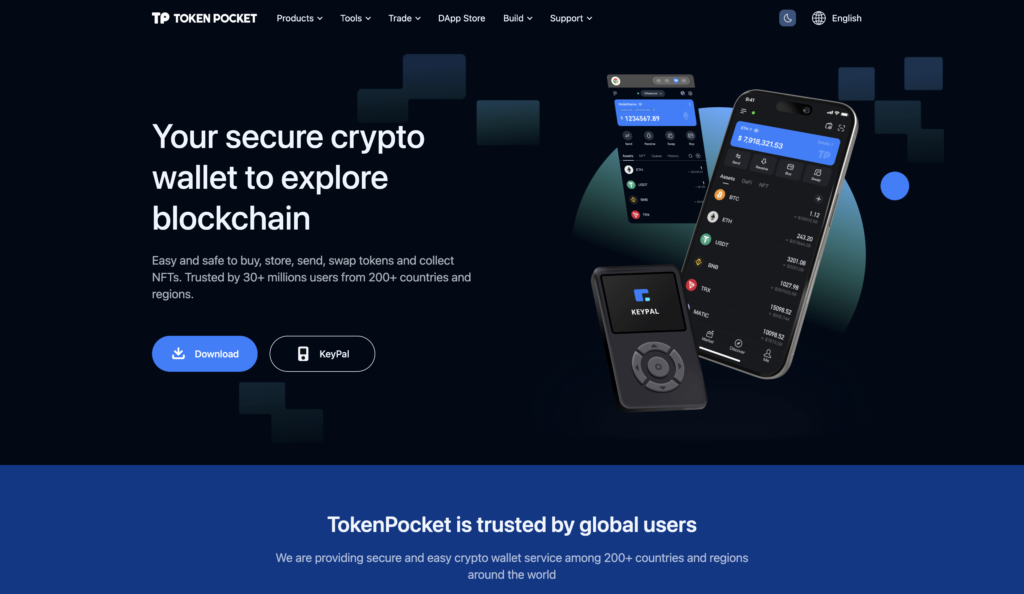
Persistence One is excited to introduce TokenPocket as a supported wallet for our Bitcoin Interoperability Testnet.
TokenPocket is a powerful multi-chain Web3 wallet that supports Bitcoin, Ethereum, and over 40 other blockchains. With millions of users worldwide, it offers seamless asset management, cross-chain transactions, and dApp connectivity in a secure and user-friendly interface.
This guide will walk you through installing the TokenPocket Wallet, connecting it to our Bitcoin Interoperability Testnet, and making your first transactions. Whether you’re testing cross-chain BTC swaps or exploring the ecosystem, this tutorial has everything you need.
For any questions, check out our FAQs or join our community to learn more.
Step 1: Installing TokenPocket Wallet and Setting it Up
The first step is to install and set up TokenPocket Wallet, so you can quickly connect it to the Bitcoin Interoperability Testnet and start transacting.
TokenPocket is available as a browser extension for desktop users and as an app for iOS and Android devices. For this tutorial, we’ll focus on installing the TokenPocket browser extension on Chrome. However, the steps are similar across all platforms.
Let’s get started:
- Head over to the TokenPocket Wallet page (https://tokenpocket.pro/) and click on Download.
- Scroll down to the next page, and you’ll find the option to install the Google Chrome extension.
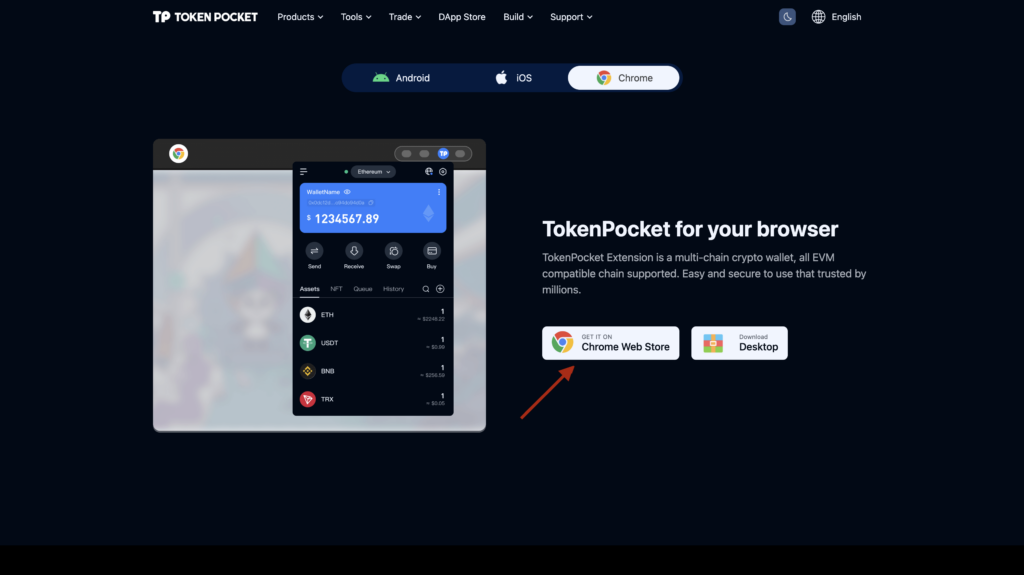
- This will take you to the Chrome Web Store. Here, click on ‘Add to Chrome’ to install the extension.
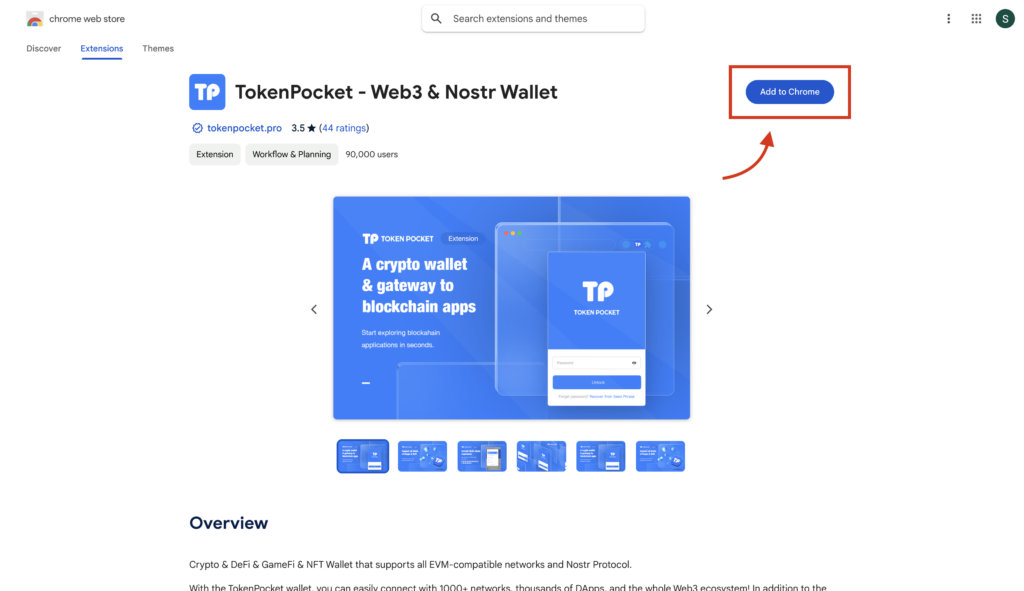
- Continue and click ‘Add extension’.

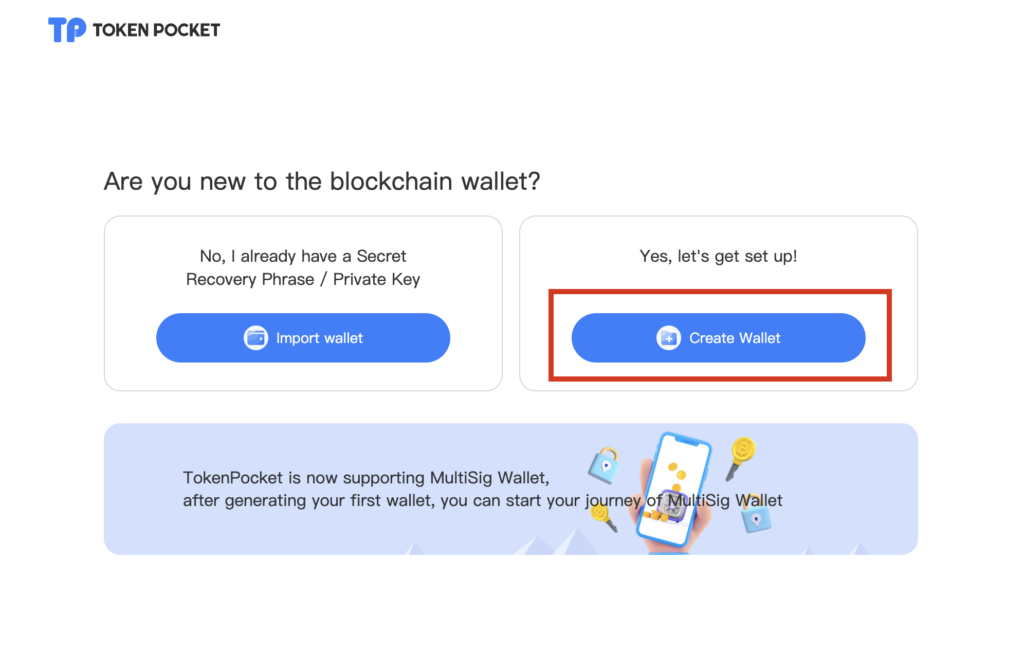
- Once you have installed TokenPocket Wallet, the following landing page will appear.
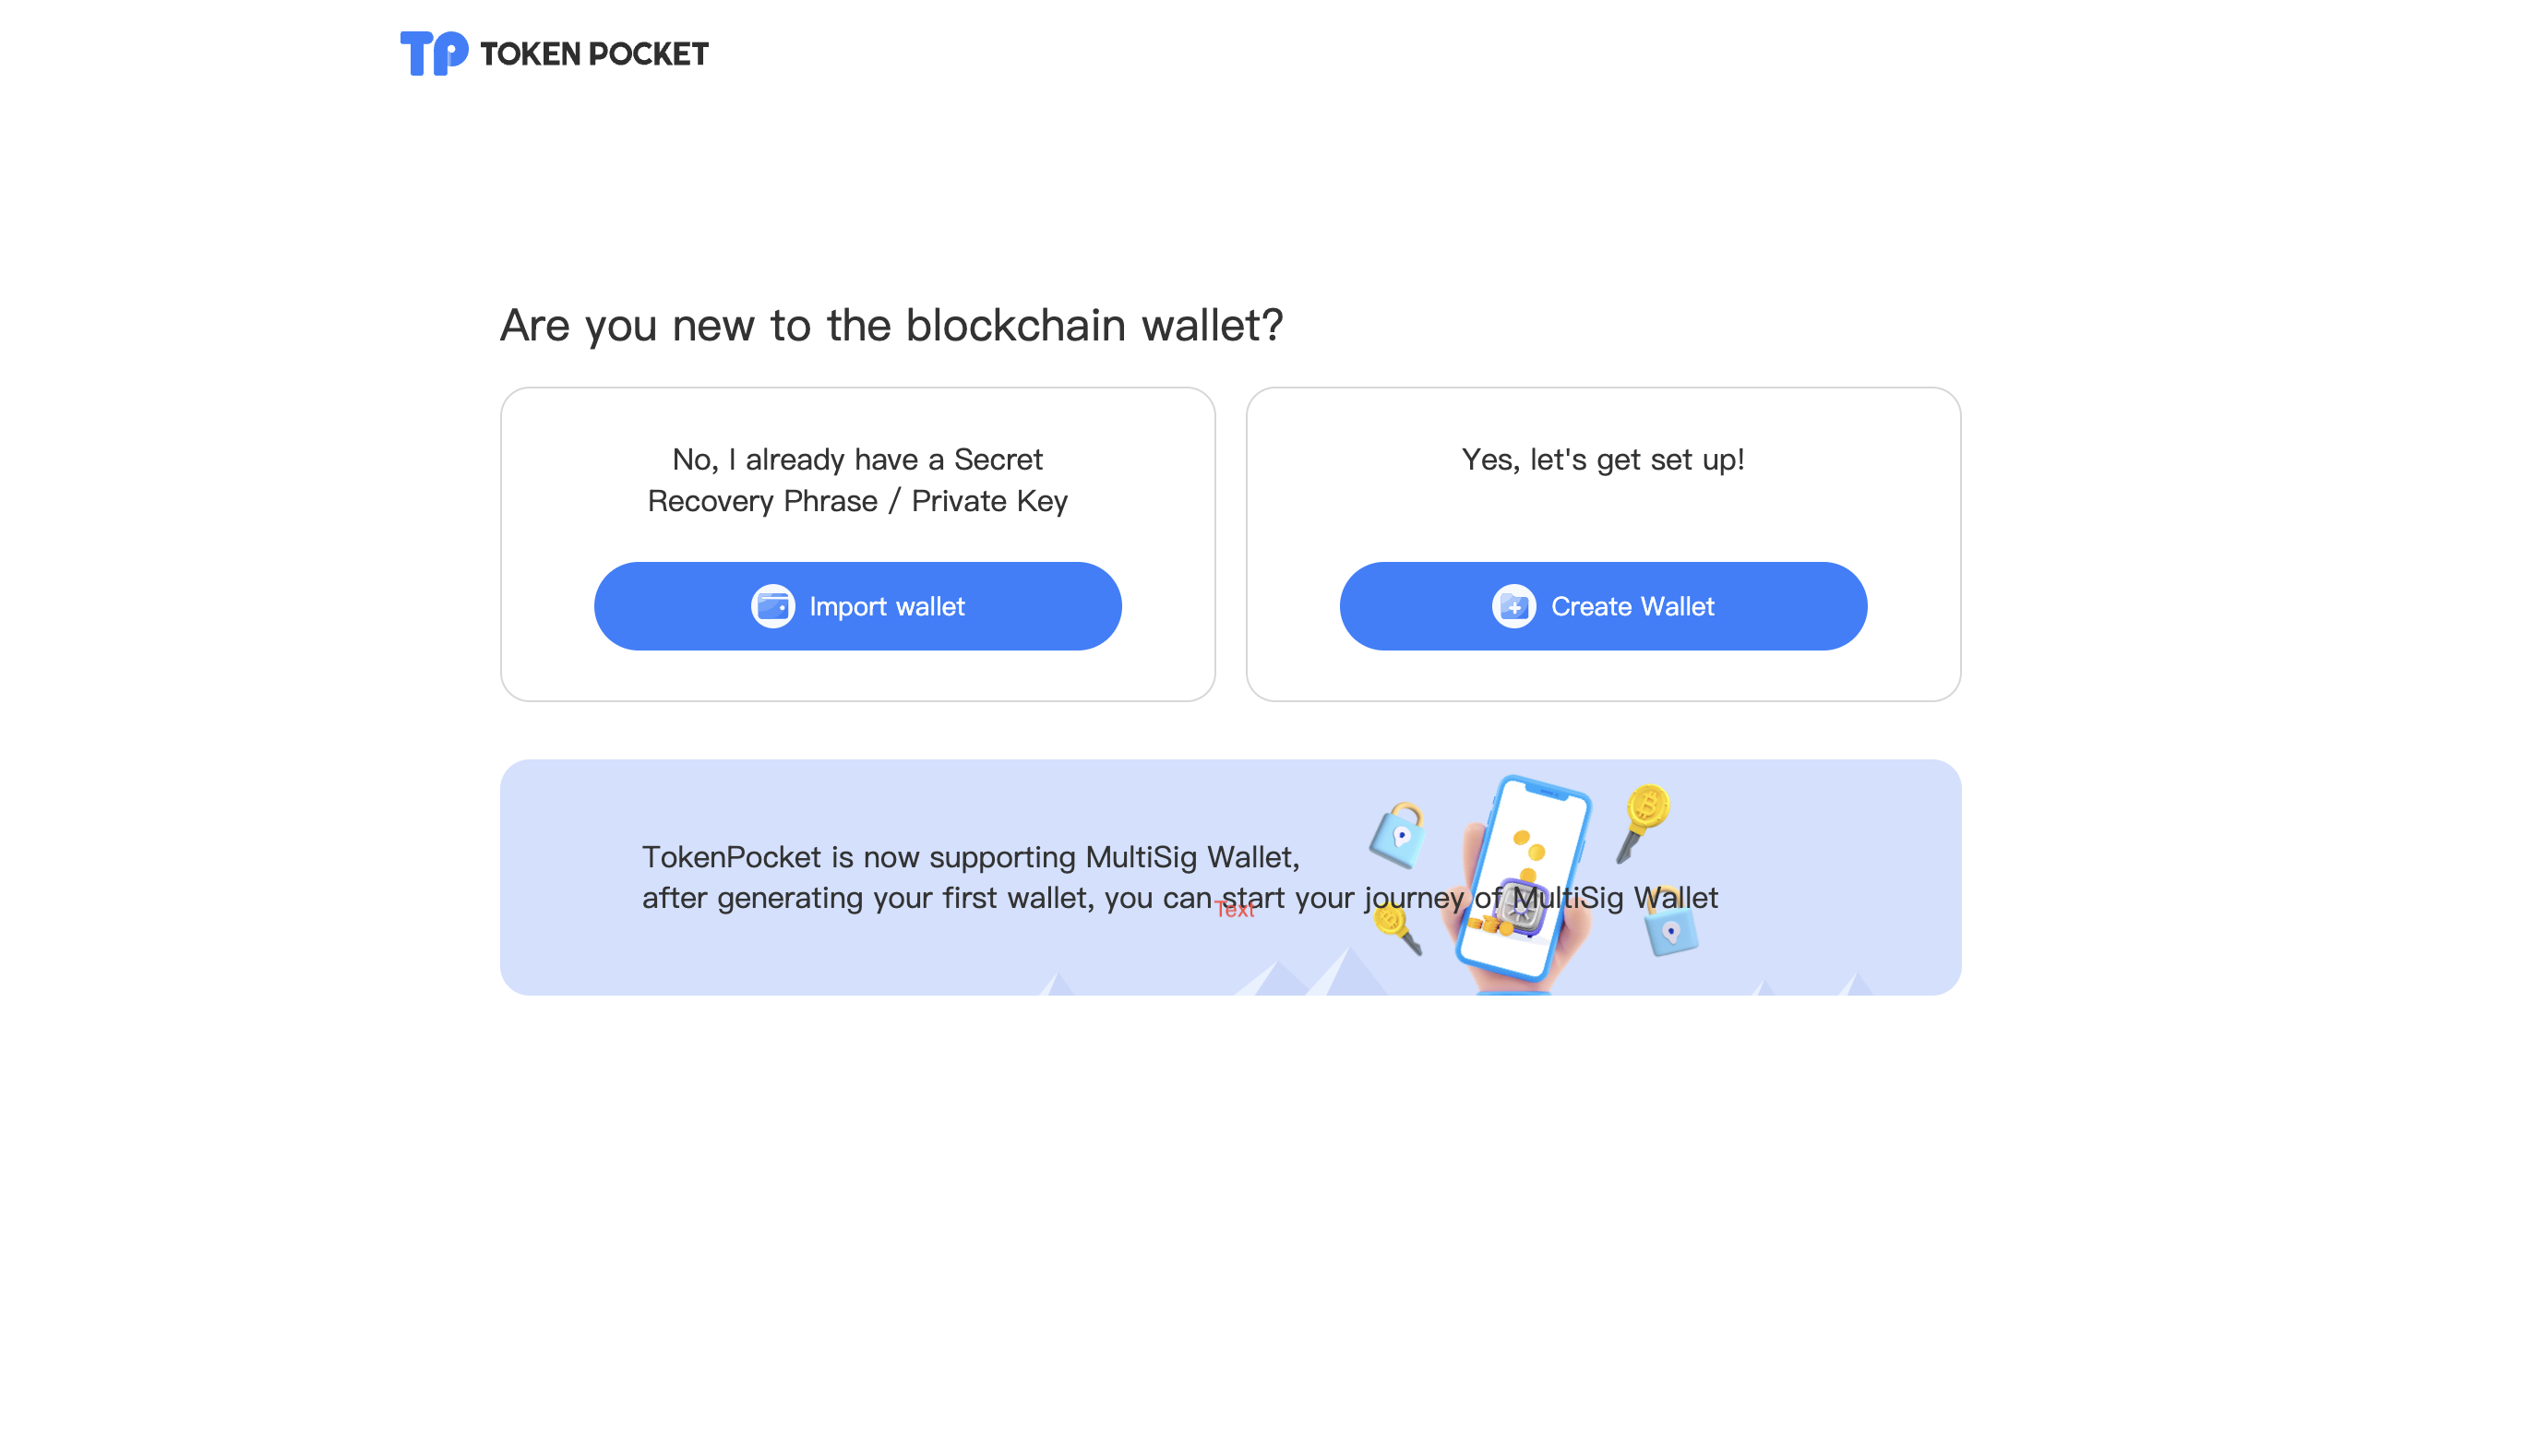
- You can choose to create a new wallet or import an existing wallet. For this guide, we will create a new wallet.
- Follow the on-screen instructions to create a new wallet. Always make sure to write down your seed phrase and store it in a safe place.
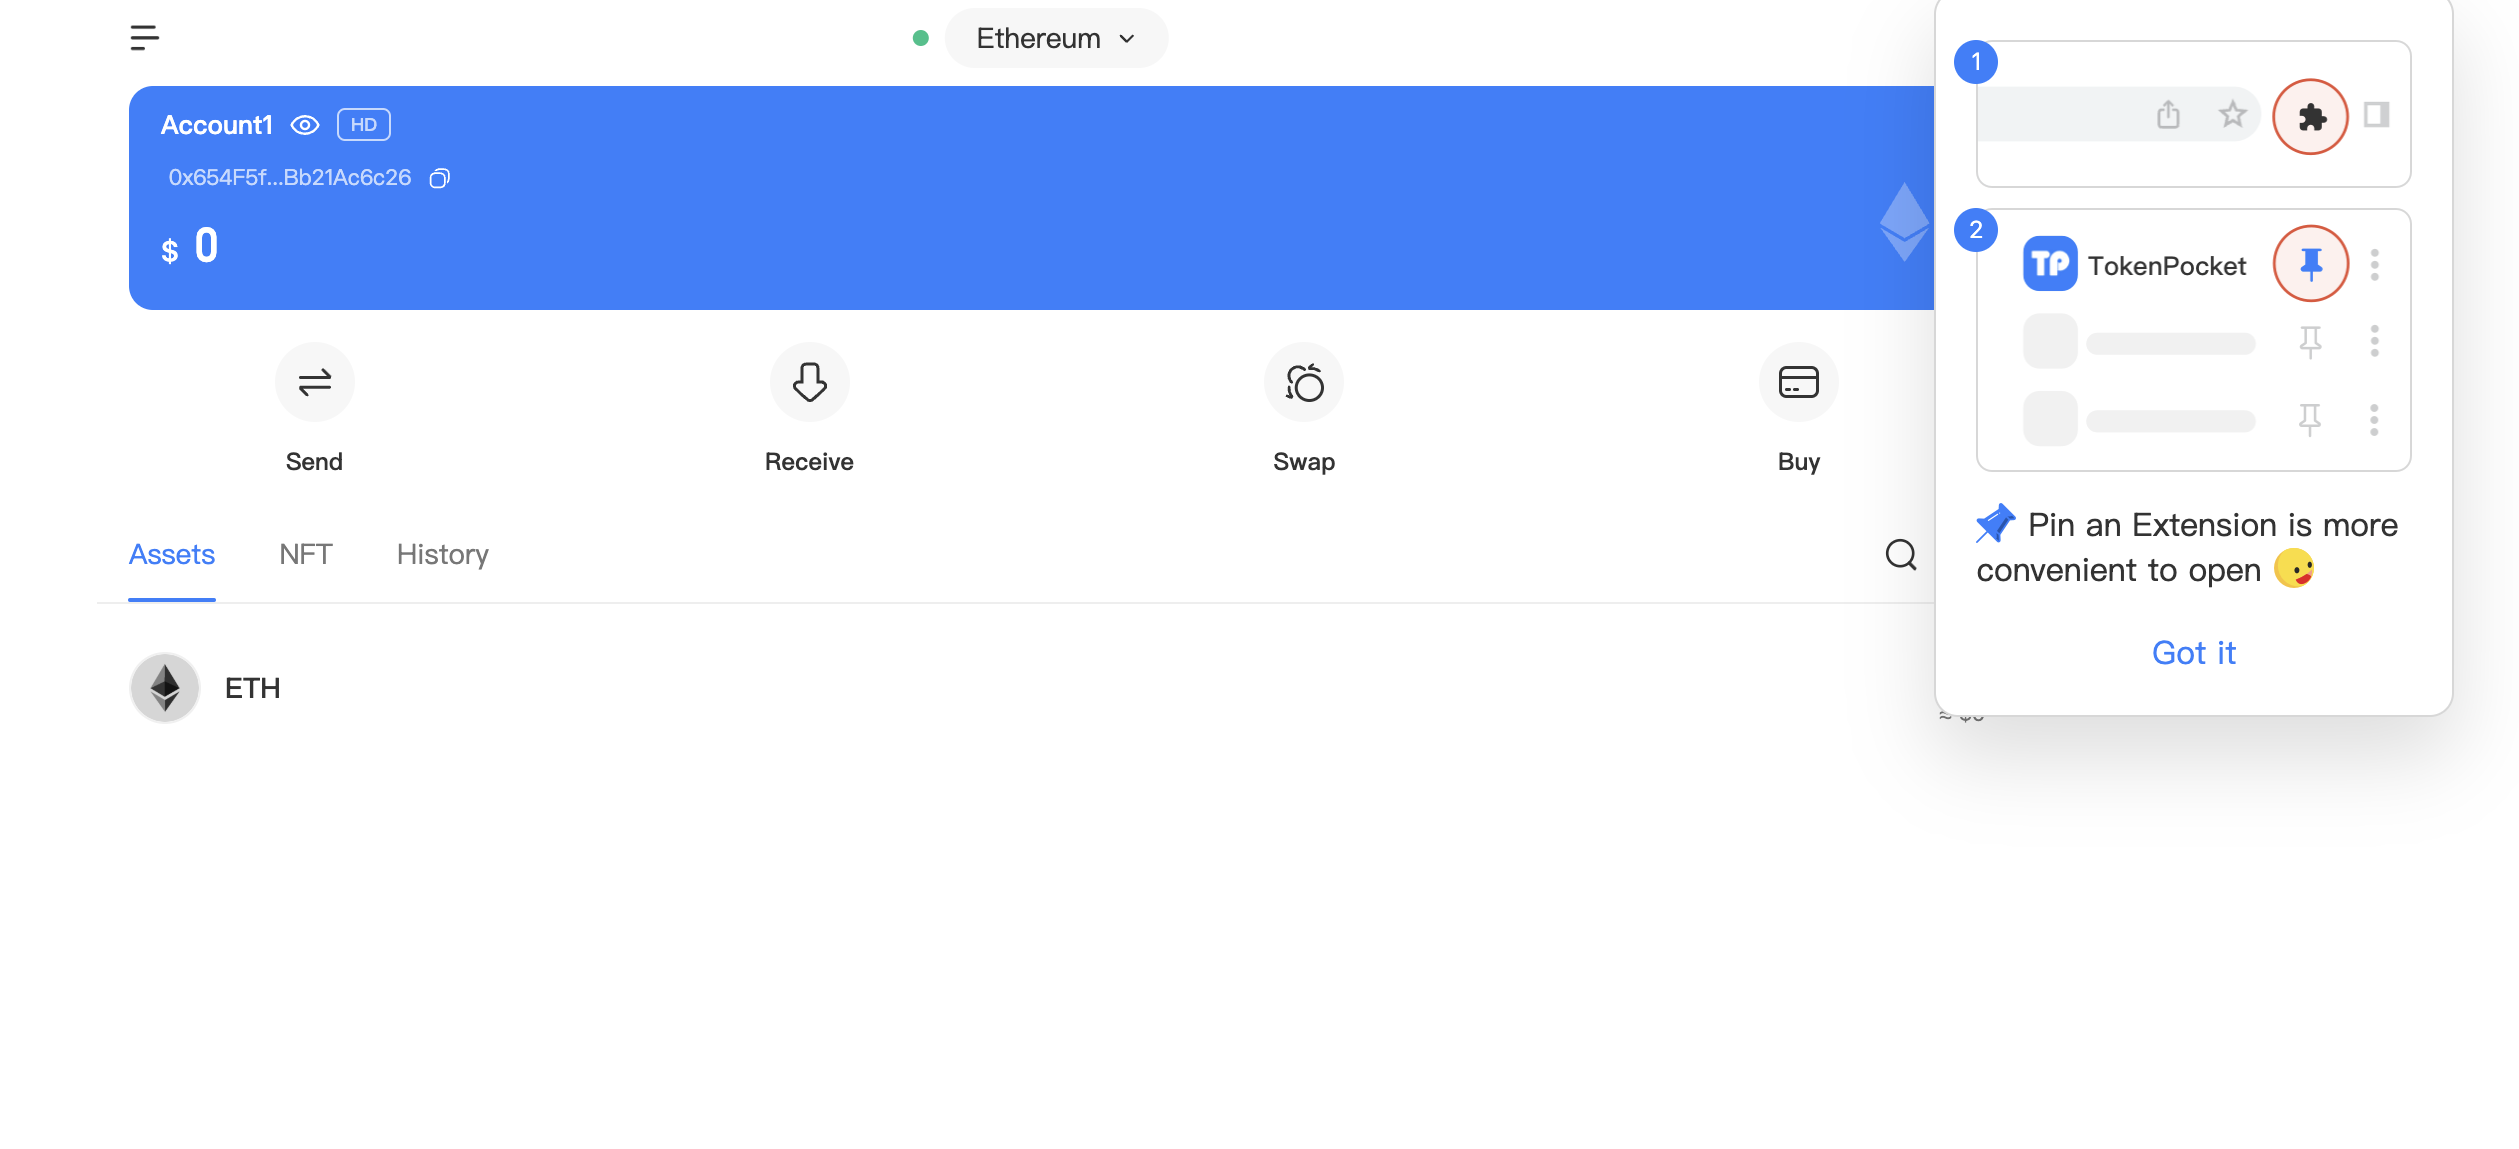
- Once you have completed the wallet setup, you should see the following screen.
Step 2: Connecting TokenPocket Wallet to Interop Testnet
Now it is time to connect TokenPocket wallet to the Persistence One BTC Interop Testnet.
- Head to the following page (https://testnet.persistence.one).
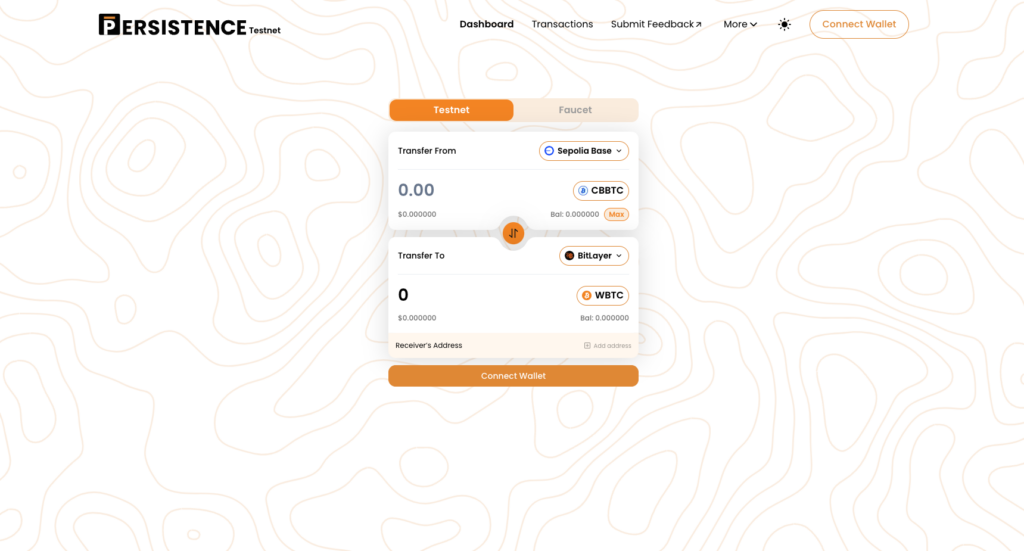
- Click on ‘Connect Wallet’ at the top right corner and the following modal will appear.
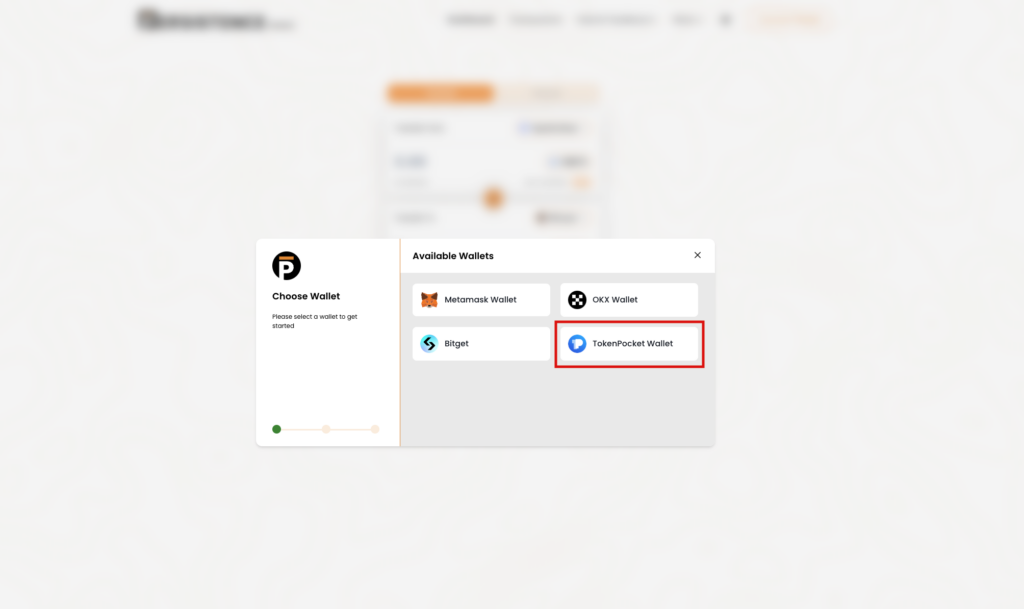
- Approve the following wallet prompt to connect.
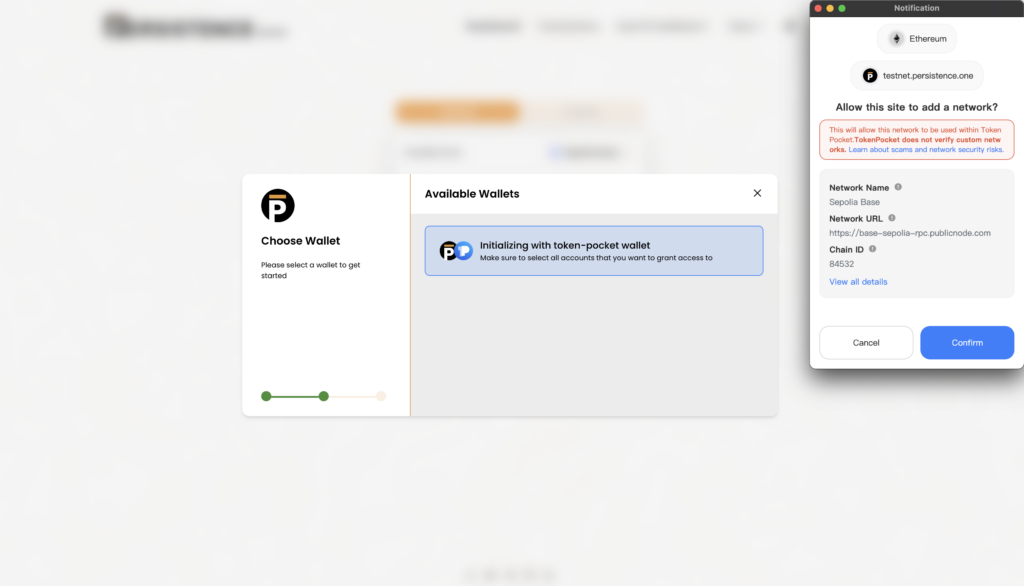
- After that, you’ll get another prompt to switch the network to add Base Sepolia testnet.
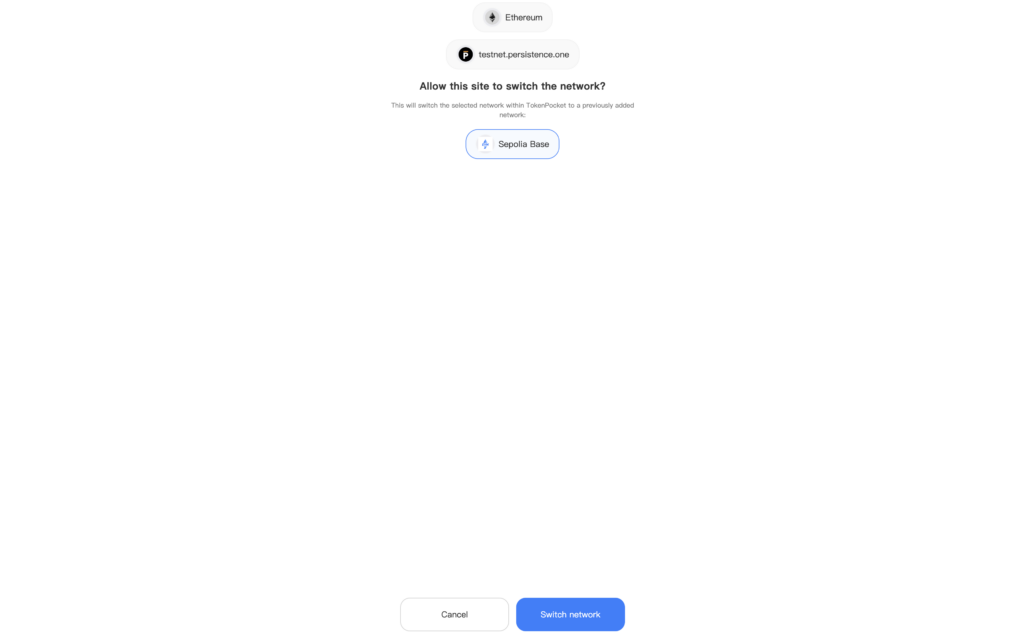
- That’s it. Now you have successfully installed TokenPocket Wallet and connected it to try the Bitcoin Interoperability testnet.
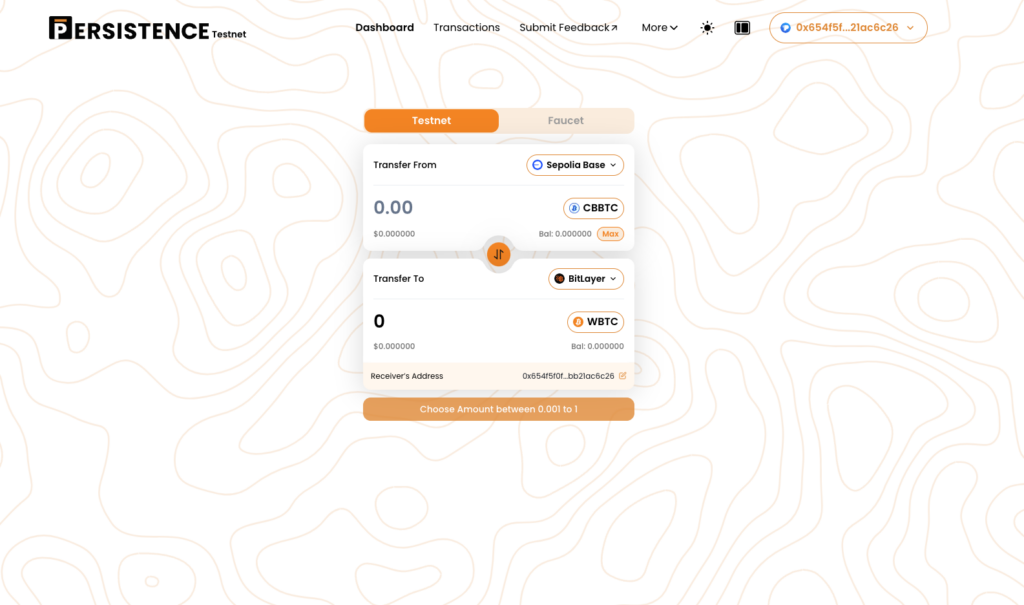
After this, proceed to request faucet funds from the dashboard to perform transactions on the product as well as collect ETH to pay the initial gas fee on the Base Sepolia testnet.
We have a detailed step-by-step walkthrough for the same, which you can find below.
About Persistence One
Persistence One is building the BTCFi Liquidity Hub, enabling fast, near zero-slippage swaps for XPRT, BTC-variants, and BTCfi tokens on Persistence DEX.
BTCFi’s rapid growth has created multiple BTC-related assets, making fragmentation a big challenge. Persistence One will provide a single liquidity hub, simplifying value transfer across the Bitcoin ecosystem.
Twitter | LinkedIn | Telegram | YouTube | Reddit | [email protected]