Adding liquidity to any pool on the Persistence DEX takes just a few clicks!
Liquidity providers earn rewards as users make swaps through the pool, and monthly incentives provide additional rewards.
This tutorial will guide you through the process of adding liquidity to the WBTC/XPRT pool on the platform.
Prerequisites
To get started, you will need the following:
- Keplr Wallet
- XPRT on Persistence Chain
- WBTC on Persistence Chain
Transferring WBTC from Osmosis to Persistence Core-1 Chain
With wBTC now available on the Cosmos ecosystem through Osmosis, bridging wBTC to the Persistence Core-1 chain has become very simple. If you don’t already have wBTC on Osmosis, you can swap any of your available assets on Osmosis for wBTC.
For this guide, we are going to swap USDC to WBTC.

After you have WBTC available on Osmosis, head over to the ‘Assets’ page on Persistence DEX – https://app.persistence.one/assets
- Click on the ‘Deposit’ button beside wBTC.

- Approve the wallet prompt to initiate the IBC transfer.

- Enter the desired amount of WBTC you wish to transfer to Persistence Core-1 Chain and click on ‘Deposit’.

Approve the transaction to successfully deposit WBTC to the Persistence Core-1 chain.
Step 1: Connecting to the Persistence DEX
The first step of the tutorial will guide you through connecting your Keplr Wallet to the Persistence DEX.
The Persistence DEX can be found at the following address – https://app.persistence.one
- Head to the above URL and hit “Connect Wallet”

- A notification will appear, asking you to select your wallet. Hit “Keplr” (or any other Cosmos-based wallet you prefer to use)

- You will be required to accept the Persistence DEX Terms and Conditions. If you are happy to accept, hit “Select All” and “Continue.”

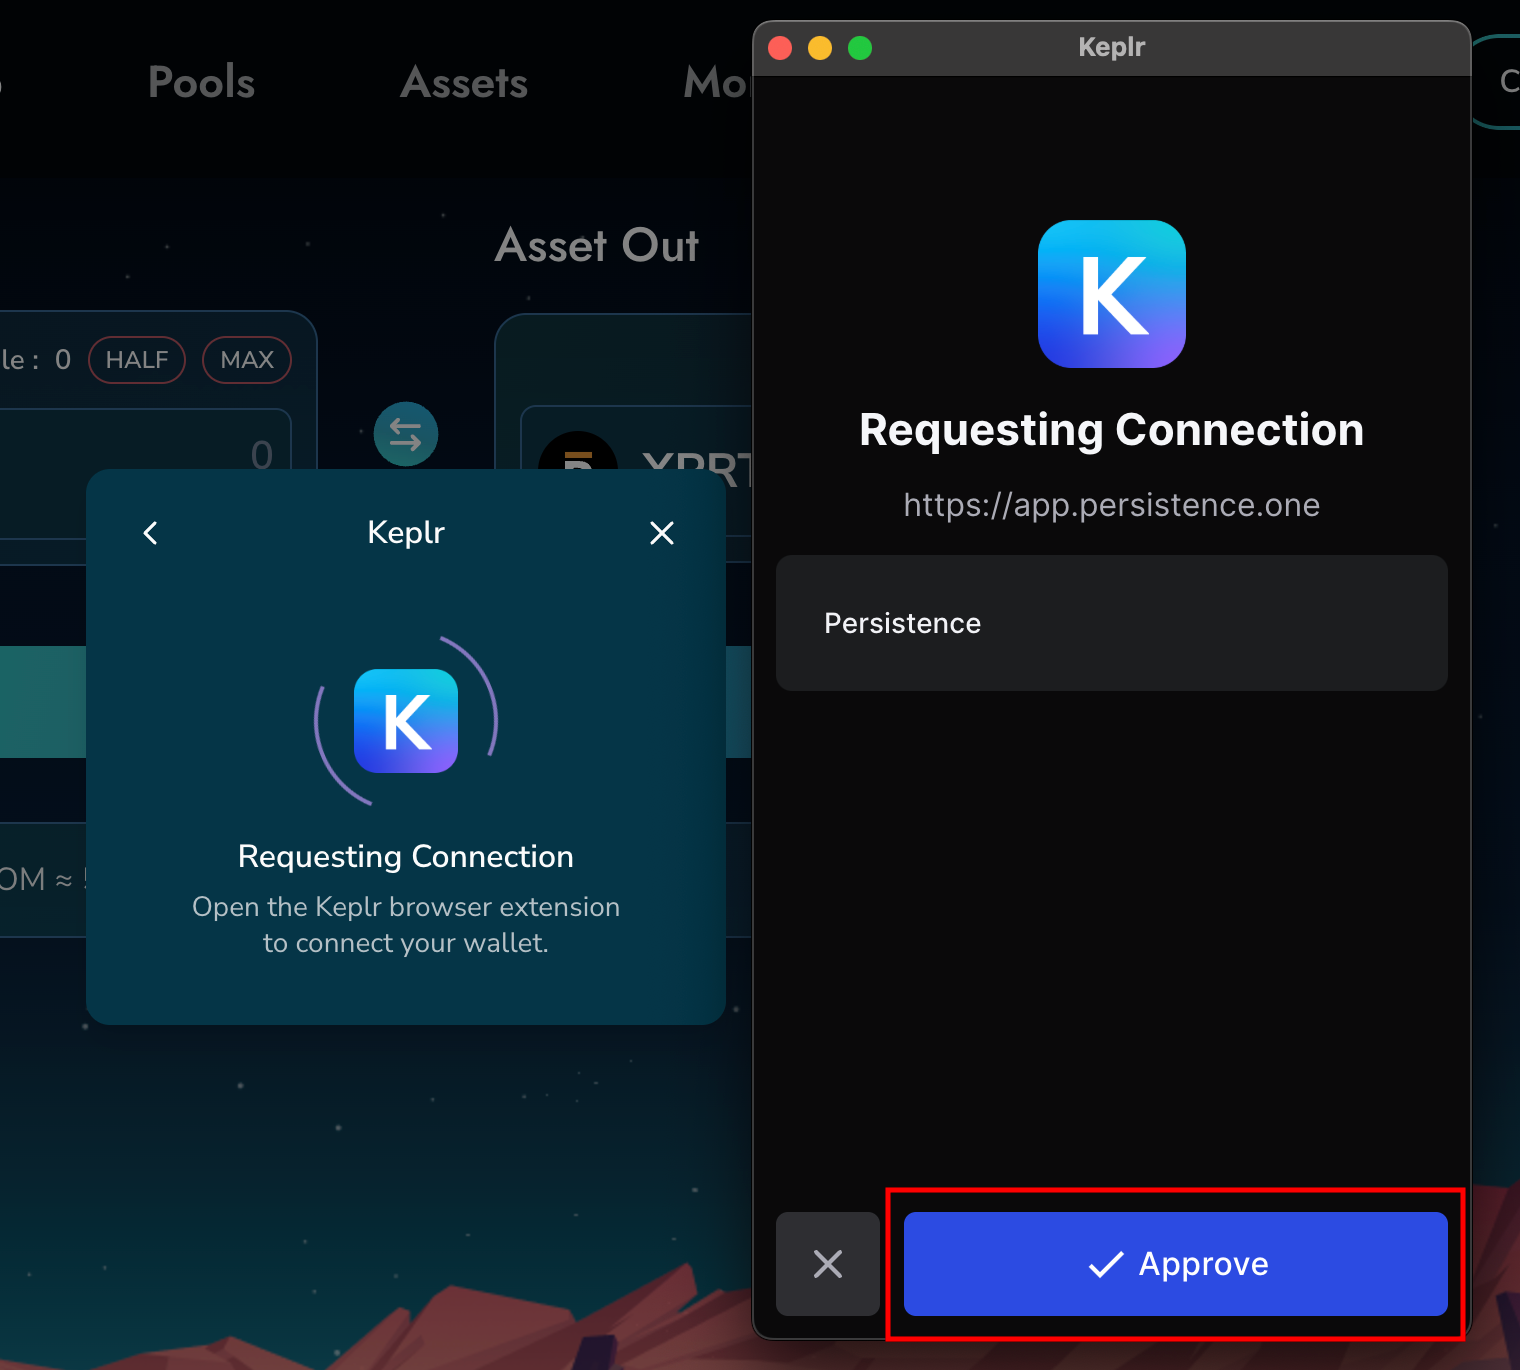
- A Keplr wallet notification will appear, asking you to confirm the connection to the Persistence DEX. Hit “Approve”:

The next step of the guide covers navigating to the WBTC/XPRT pool.
Head to the Pools page on Persistence DEX:
https://app.persistence.one/pools

- This will bring up the pool page for the WBTC/XPRT liquidity pool:

Step 3: Depositing Liquidity Into the Pool
Now that we’ve navigated to the right pool, it’s time to deposit our liquidity.
- Hit “Add Liquidity” on the pool page.

- This will bring up the following dashboard, allowing you to enter the amount of liquidity to add to the pool:

- Enter your desired liquidity and hit “Add Liquidity”:
NOTE: You have the option to bond your tokens for 7 days to earn a higher yield. If you wish to do this, make sure the option is selected.

- A Keplr Wallet notification will appear, asking you to approve the transaction. Hit “Approve”:

- After a few seconds, you should see a pop-up stating your transaction was successful:

- You will also be able to see your liquidity on the pool dashboard:

That’s all there is to it. You’ve successfully added liquidity to the WBTC/XPRT pool on Persistence DEX.
About Persistence One
Persistence One is building the BTCFi Liquidity Hub, enabling fast, near zero-slippage swaps for XPRT, BTC-variants, and BTCfi tokens on Persistence DEX.
BTCFi’s rapid growth has created multiple BTC-related assets, making fragmentation a big challenge. Persistence One will provide a single liquidity hub, simplifying value transfer across the Bitcoin ecosystem.
Twitter | LinkedIn | Telegram | YouTube | Reddit | [email protected]


