


The Liquid Staking Module on the Persistence core-1 chain (which went live in the Persistence v8 Pacaya upgrade in September 2023) allows staked XPRT to be transferred between wallets without the need to unbond tokens and wait for 21 days.
Important Note
Geo-blocking (from 1 Feb 2024) is done only for front-ends hosted by Persistence Labs and has no implications on tokens, contracts, and modules deployed on the Blockchain. Third party leading Cosmos wallets like Keplr Wallet will continue to support XPRT activity as normal. It is recommended that Persisters move their tokens, including staked XPRT to a newly created Keplr Wallet.
You need not unbond tokens and wait 21 days to move your XPRT tokens to a different wallet. Staked XPRT tokens can be transferred directly from pWallet to a new Keplr Wallet. In this guide, we will learn how to transfer staked XPRT between two wallets (source and destination) instantly. Alternatively, you can also watch this Video Tutorial on the same.
In case you have already started unbonding, you can cancel unbonding on pWallet and Keplr with the latest feature by following this XPRT unstaking cancellation guide.
Transferring staked XPRT from pWallet to Keplr Guide
Before getting started, let’s get accustomed to two terms that will be used throughout this guide for your better understanding:
- Source Persistence wallet – A wallet with staked XPRT that you want to transfer to the new Keplr Wallet
- Destination Persistence wallet – A wallet that will receive the staked XPRT from the source wallet instantly
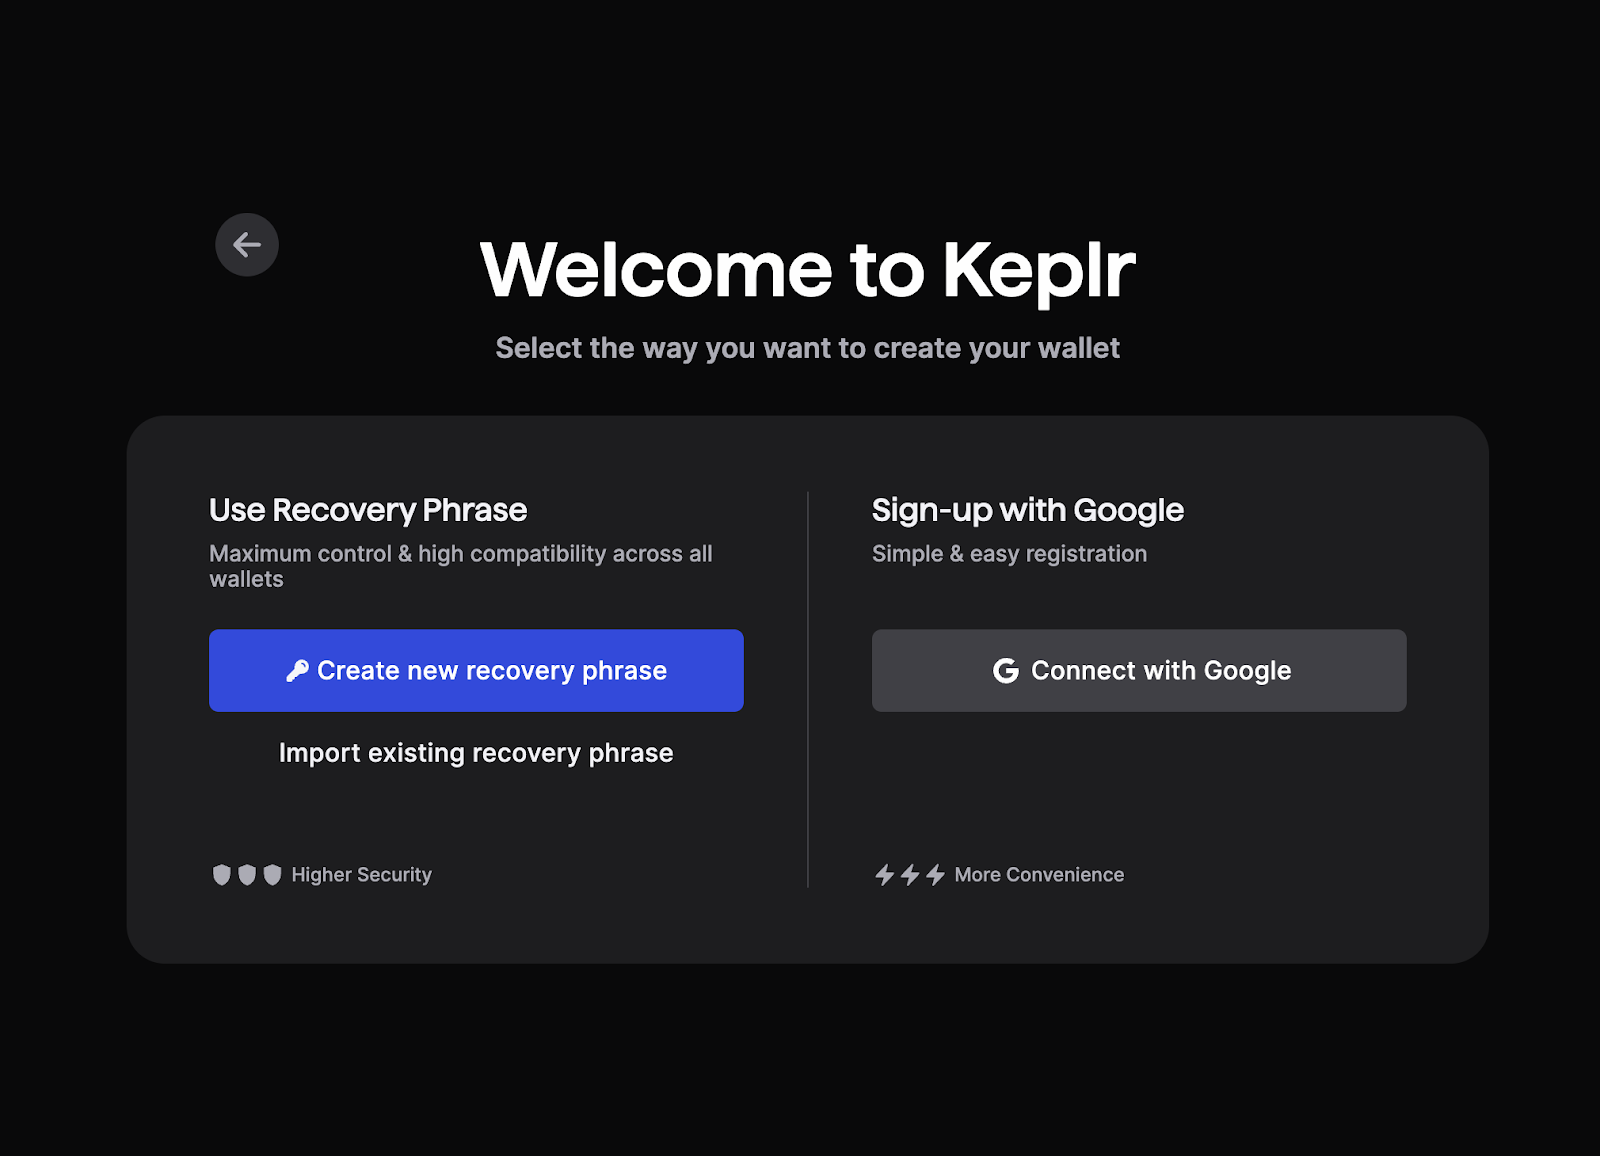
Step 1 – Create your destination Persistence wallet address
The first step involves finalizing the destination wallet that will receive the staked XPRT tokens by the end of this guide. It is advised to create a new Keplr wallet for a smoother and efficient transfer process.
Note: By creating a new wallet and following this guide, you won’t need to migrate your tokens from 750 to 118 coin type separately. XPRT coin type migration is a different process (although it can also be achieved by following this guide) and you can learn more about the XPRT coin type migration here.
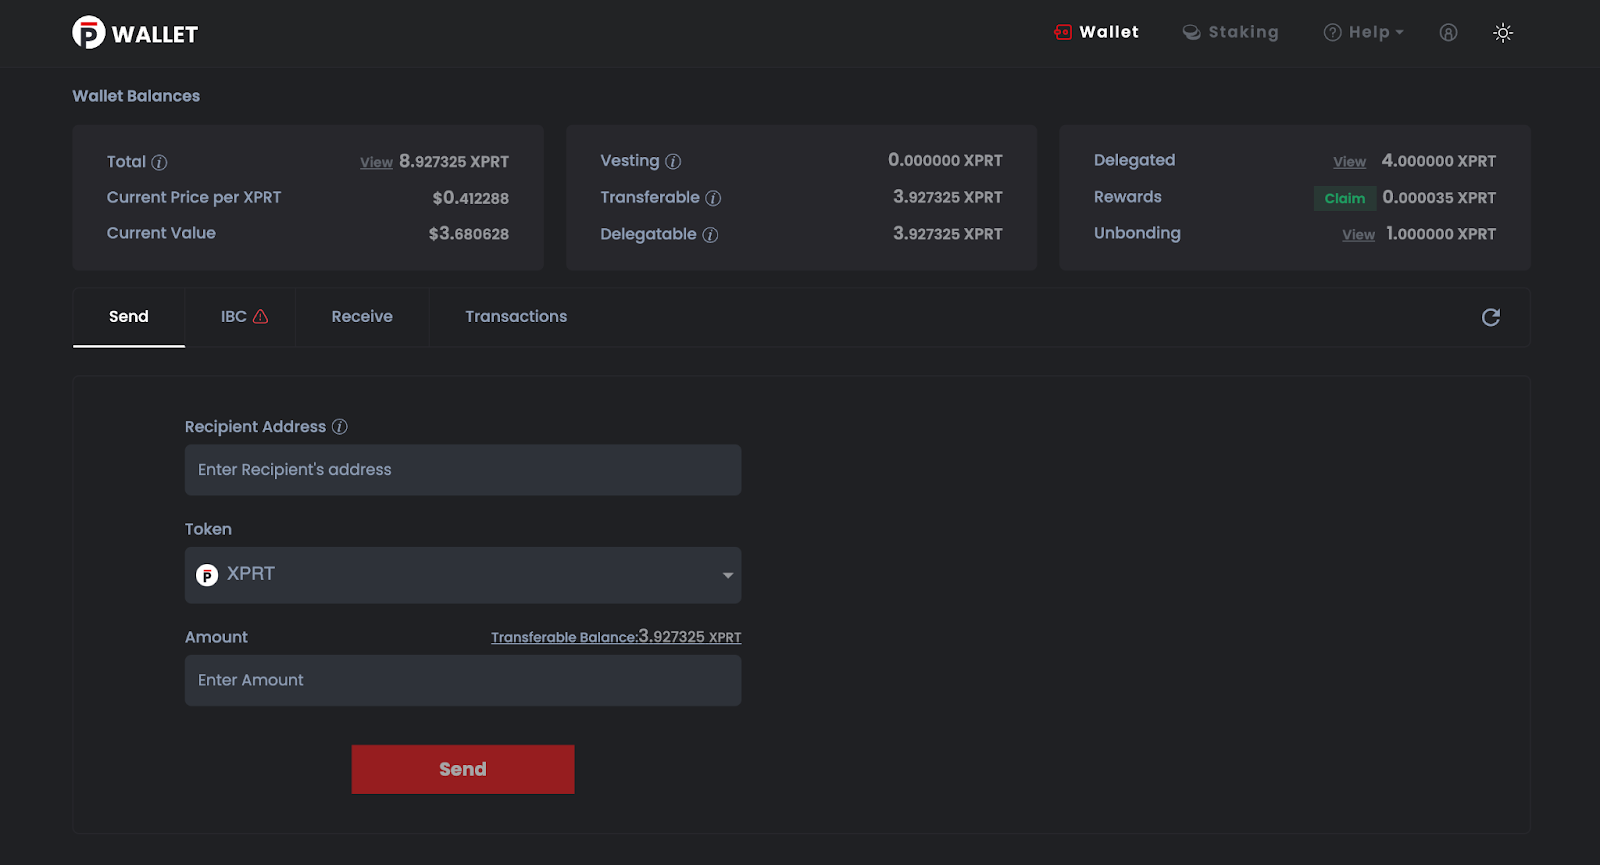
Step 2 – Sign in on the pWallet interface
Go to https://wallet.persistence.one/ and sign in to your source wallet from which you want to transfer your staked XPRT tokens. Log in using your keystore file, ledger, or persistence address.
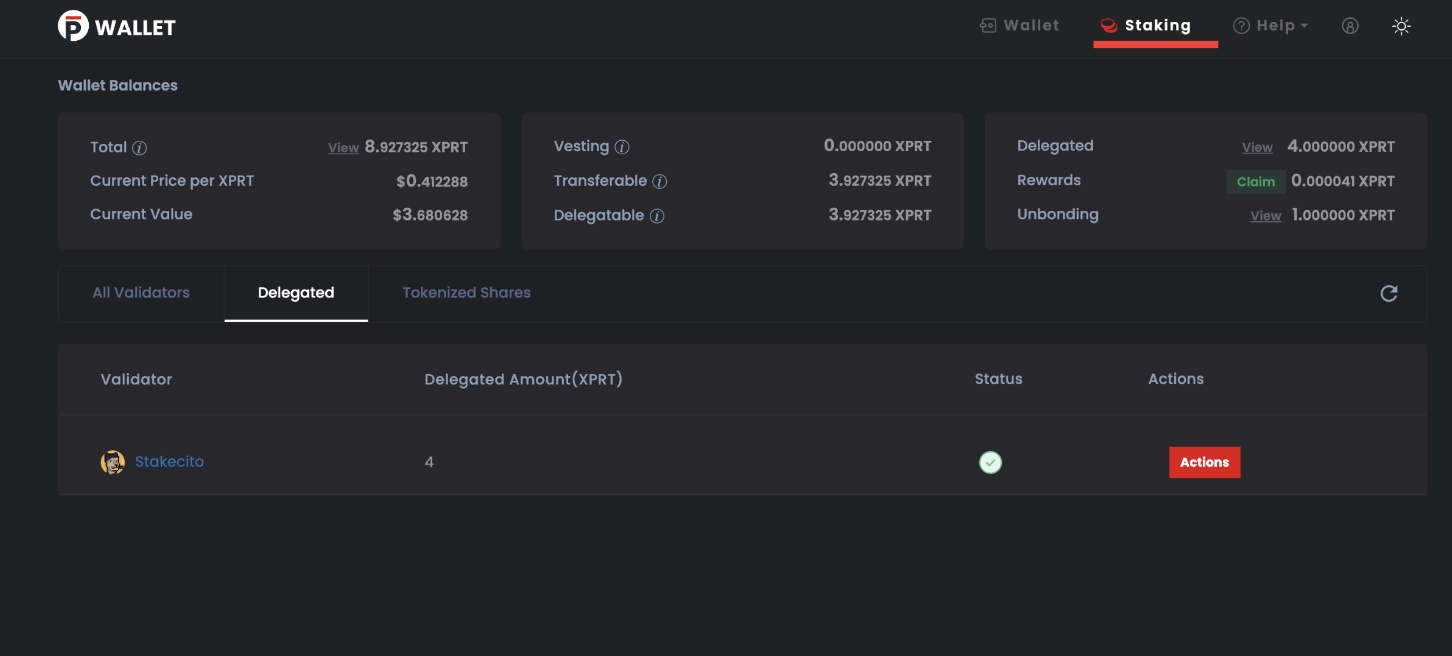
Step 3 – Navigate to the Staking dashboard
Once you have signed in, view your staked tokens by clicking the ‘Staking’ tab on the top right of your screen. You will see a list of all your delegations under the ‘Delegated’ section.
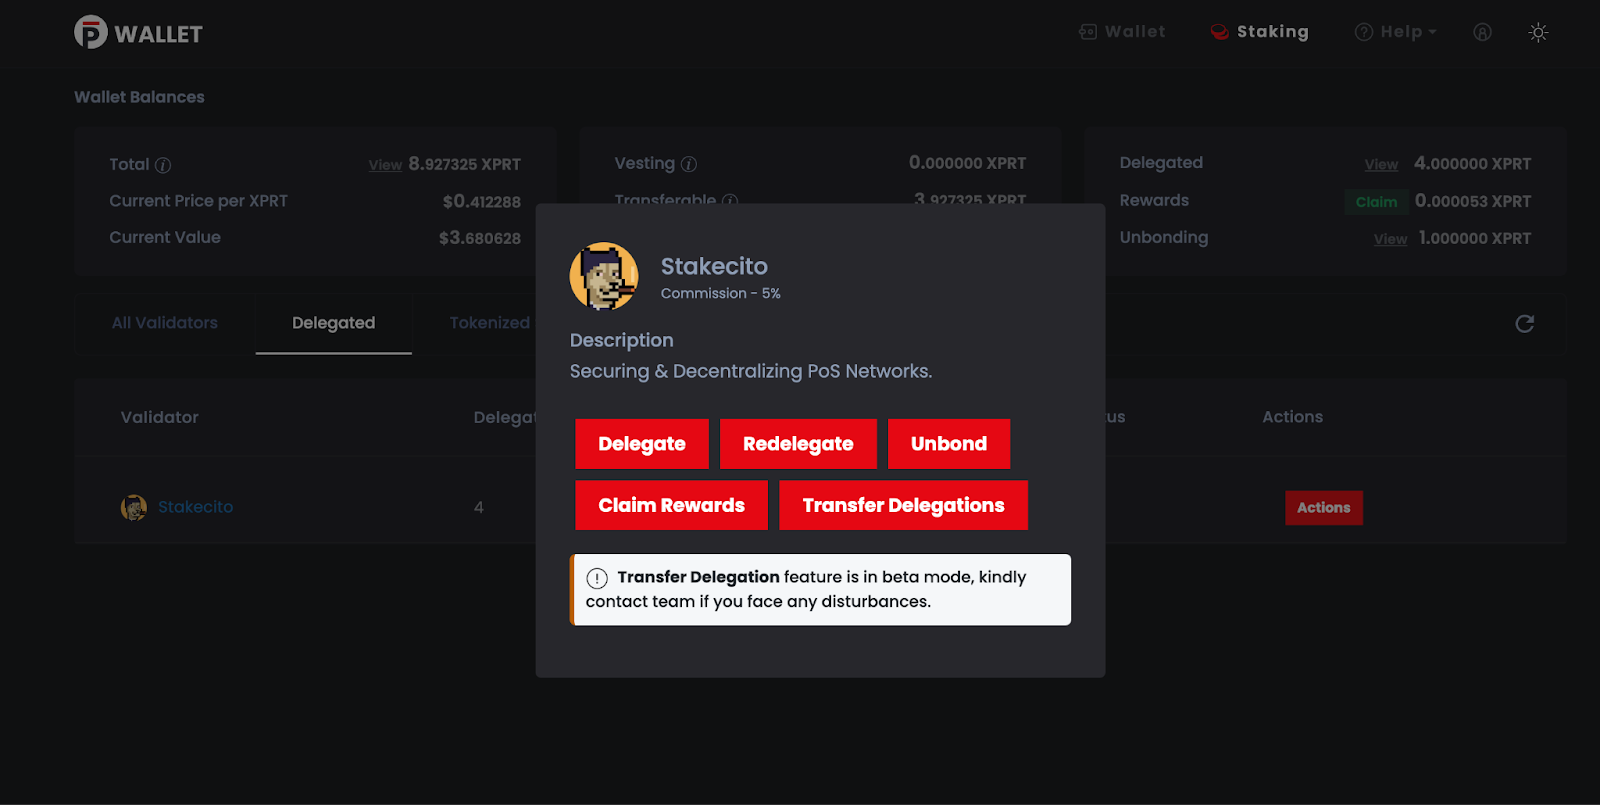
Step 4 – Choose the staked XPRT delegation to transfer
It’s now time to transfer staked XPRT. Make sure you have the destination Persistence address handy from Step 1.
Click the ‘Actions’ button on your delegation. You will see a dialog box with things you can do with your stake, like Delegate, Claim Rewards, etc. Since you want to move your staked XPRT tokens, click on Transfer Delegations.
Note on a commonly encountered “Insufficient Validator Bonds” error message in this step: Validator Bond is a self-bond requirement from validators to be able to process these transactions. In case the validator you have delegated to does not have sufficient bond, you can redelegate to one that has it (validators with a non-zero amount of ‘Remaining Liquid Shares Capacity’ on the SmartStake XPRT Validator Bond Dashboard), and follow the same step again.
Step 5 – Transfer staked XPRT to the destination Persistence wallet address
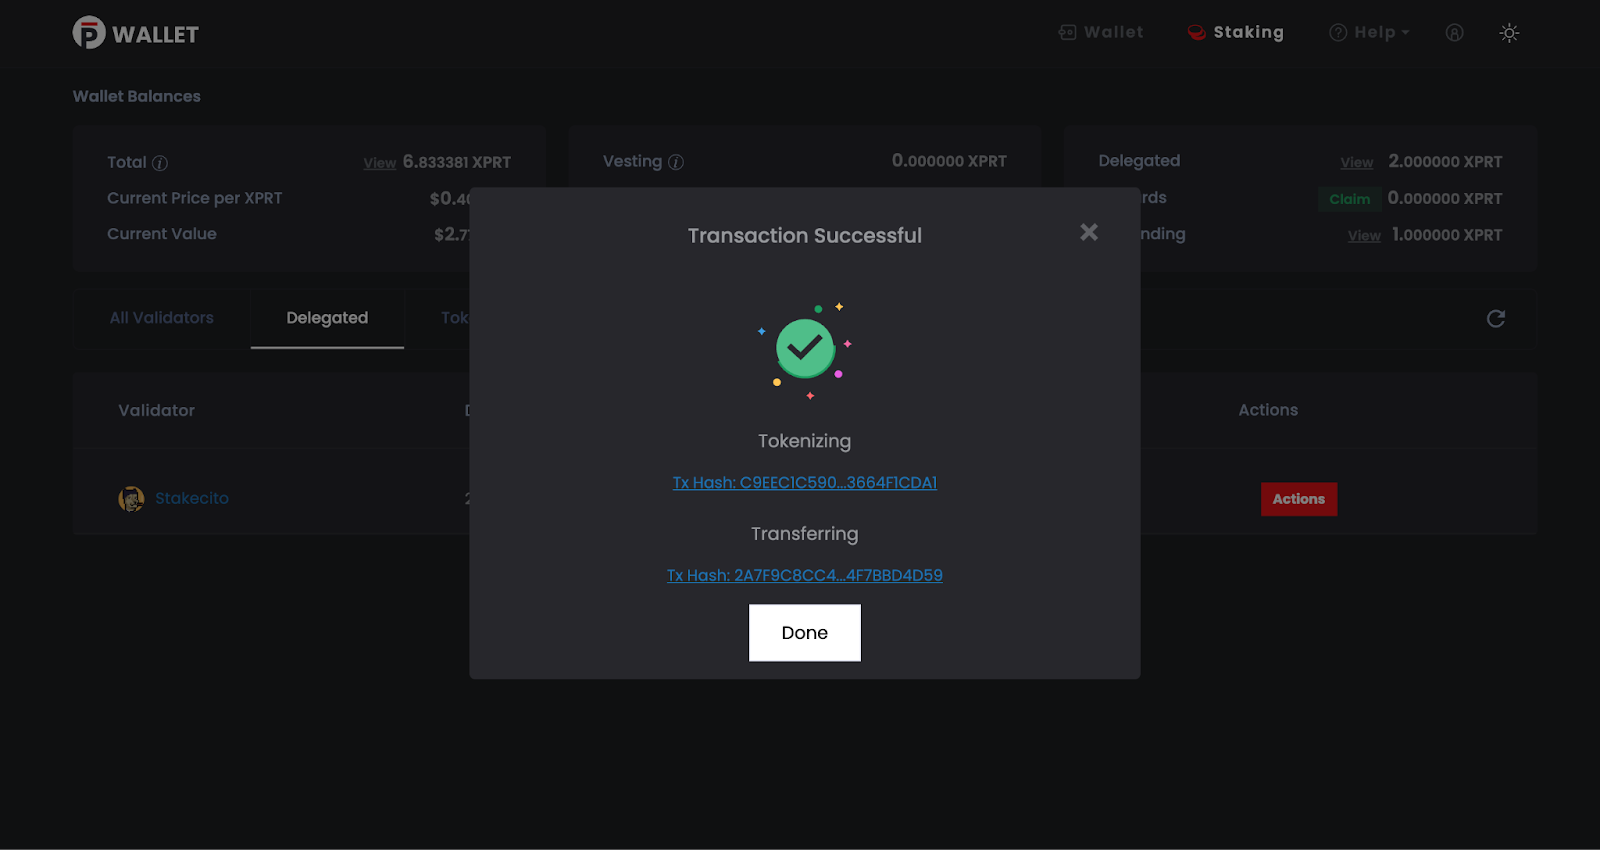
Select the amount of staked XPRT to transfer and paste the destination Persistence wallet address in the dialog box. Next, click on transfer. You will be required to sign two transactions that involve tokenizing shares and transferring staked XPRT.
Note – Please ensure you have some XPRT to pay for transaction fees. In case of gas fee errors, please increase the gas amount manually.

Once the transactions are successful, you will see a confirmation and the relevant transaction hashes for your reference.
Step 6 – Redeem staked XPRT on the destination wallet
Finally, we need to redeem the staked XPRT tokenized shares that were transferred to the destination wallet. Don’t fret if it sounds a bit to too complex. In step 5, your staked XPRT was converted into a standard, fungible format (called as tokenized shares) so that it can be transferred. Now it’s time to just redeem those shares for staked XPRT again.
Go to https://wallet.persistence.one/ and this time sign in with your destination wallet using Keplr directly. Click on the ‘Staking’ tab on the top right of your screen and view your tokens under ‘Tokenized Shares’.
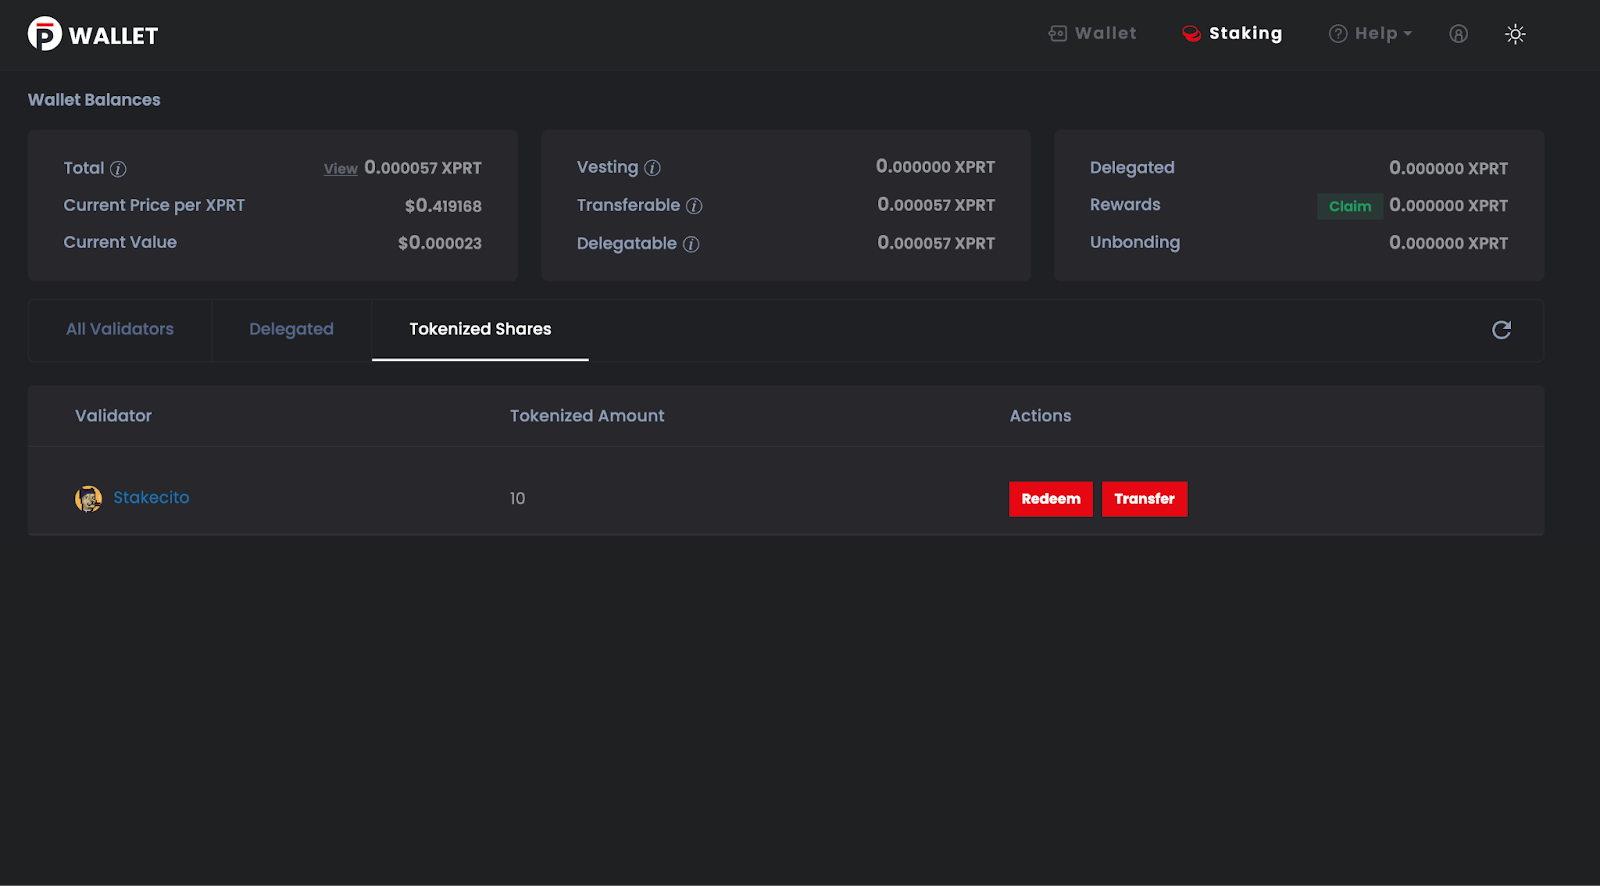
Click on ‘Redeem’, and sign the required transactions to convert these tokenized shares into staked XPRT tokens.
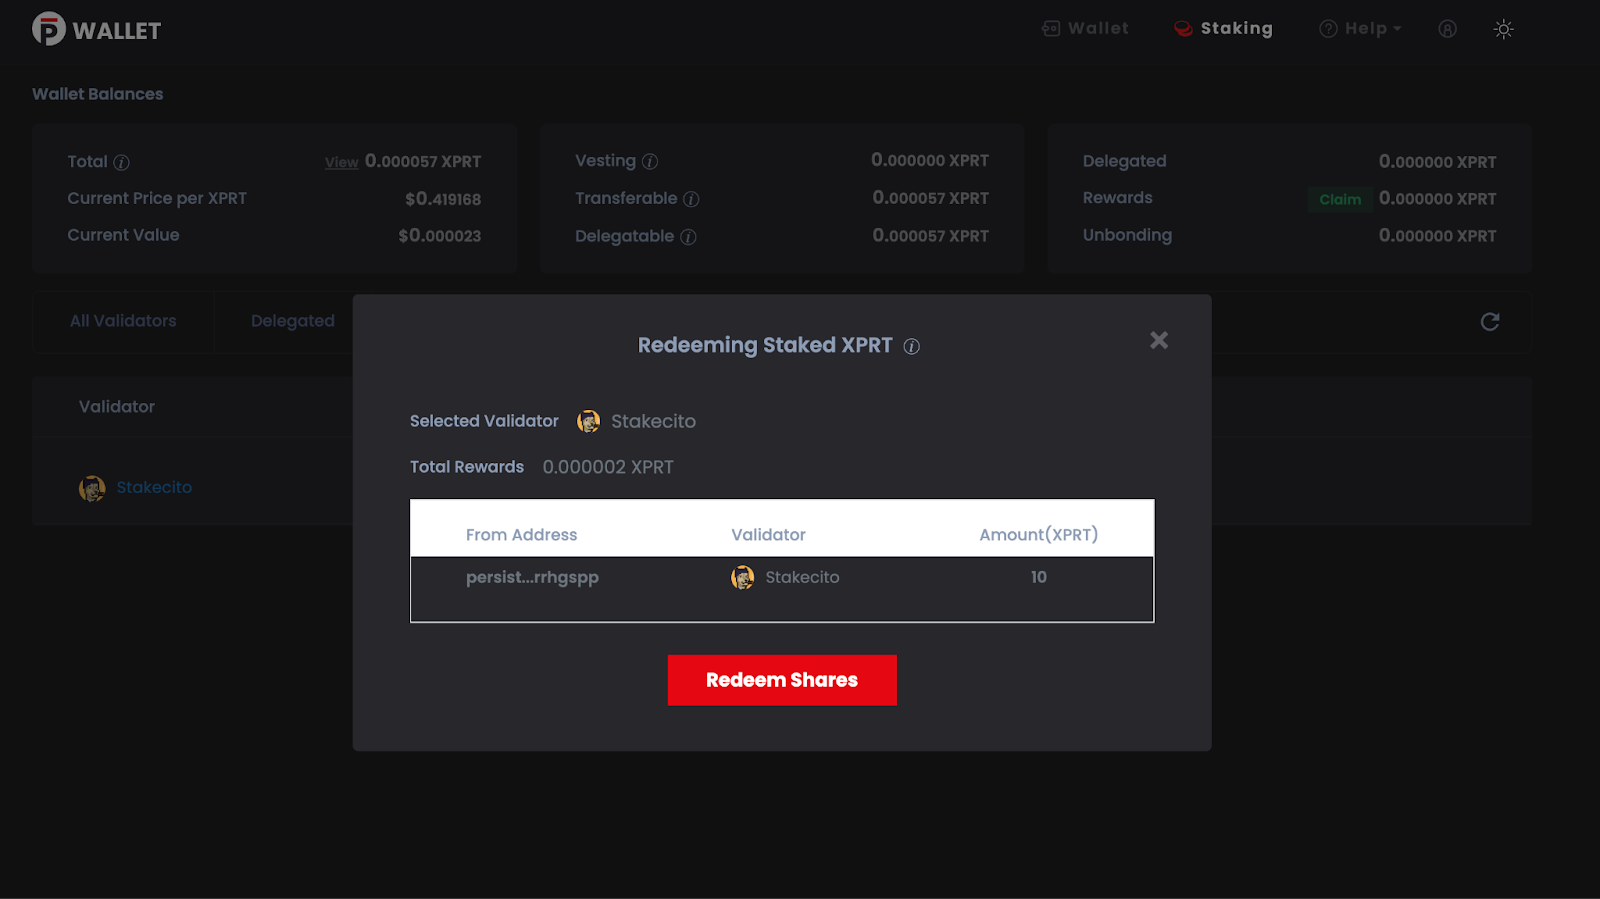
Once successful, you will have instantly transferred staked XPRT from pWallet to Keplr wallet without having to unbond and wait 21 days to move your tokens.
About Persistence
Persistence is a cosmos app chain for Liquid Staking DeFi (LSTfi) with the issuance of & DeFi for LSTs.
The Persistence core-1 chain hosts pSTAKE Finance–a multi-chain liquid staking protocol for issuing LSTs that allows users to earn staking rewards while participating in DeFi primitives, and Dexter–the Interchain DEX for yield-generating assets like LSTs.
Persistence aims to offer a one-stop shop for liquid staking for PoS (Proof-of-Stake) users and enable developers to build innovative applications around LSTs.
Become a Persister today!
Twitter | LinkedIn | Telegram | YouTube | Reddit | [email protected]